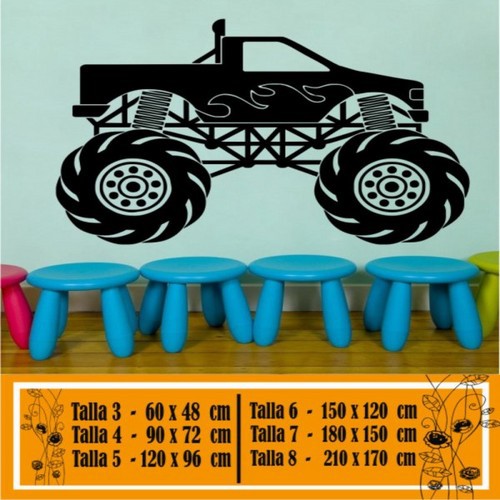
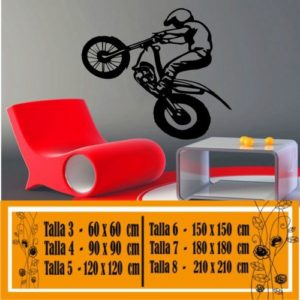
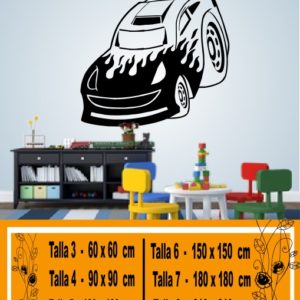
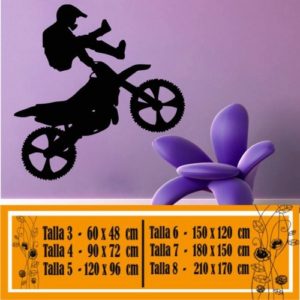
"He Decorative sticker vehicles 1019 is an exceptional product in our range of cutting vinyls. This sticker is distinguished by being made with materials of the highest professional quality., thus guaranteeing its durability and resistance.
One of the most notable features of this sticker is that it does not have any type of background.. This means that the sticker design integrates perfectly with the surface where it is applied., creating a clean, seamless look.
He Decorative sticker vehicles 1019 Delivered in panels of a maximum of 60 cm wide. This measurement has been carefully selected to facilitate installation, allowing you to handle the sticker with ease and precision during the application process.
But that is not all. What really makes our Decorative sticker vehicles 1019 be special is your personalization. We offer the possibility of customizing the sticker in the colors and measurements indicated. This allows you to tailor the stickers to your specific needs and tastes., ensuring the final product is exactly what you were looking for.
In summary, he Decorative sticker vehicles 1019 It is more than just a product. It is a tool to express your personal style and transform any space to your liking.. Whether you're looking to add a touch of color to your living room, add a design element to your office or you just want to give your room a new look, our Decorative sticker vehicles 1019 it is the perfect solution.
Here is a more detailed guide for installing decorative vinyl on painted walls:
-
Wall preparation: Before starting, make sure the wall is clean and dry. Vinyls adhere best to smooth, clean surfaces.. You can use a soft cloth to clean the wall and let it dry completely before starting..
-
Design planning: Before you start gluing the vinyl vehicles 1019, it is useful to plan where each piece will go. You can use masking tape to mark approximate locations on the wall.
-
Separate the pieces: If the vinyl design consists of several pieces, It is advisable to separate them before installation. This will allow you to have greater control over the placement of each piece and will facilitate the process.. You can use a knife or sharp scissors to do this, but be careful not to damage the design.
-
Trim the excess: If the vinyl is larger than the space where it will be installed, you can trim the excess with a knife or sharp scissors. Remember to do it carefully so as not to damage the design..
-
Vinyl Application: Start applying the vinyl from one end, gently and without rush. Use a squeegee or credit card to smooth the vinyl and remove any air bubbles. Make sure you press firmly so that the vinyl adheres well to the wall.
-
Distribution of elements: In the case of graphics with multiple elements, you can distribute them as you wish. This allows you to customize the design to your liking. You can move and rearrange elements until you are happy with the design.
-
Care and maintenance: Once the vinyl is installed, you can clean it gently with a damp cloth. Avoid using harsh cleaning products that can damage the vinyl.
- Enjoy for many years of the adhesive for vinyl walls vehicles 1019 many years


